Overview
This guide explains how to invite additional users to the Nuonic account, assign their access level, and manage pending invitations.
Steps
- Sign in to Nuonic.
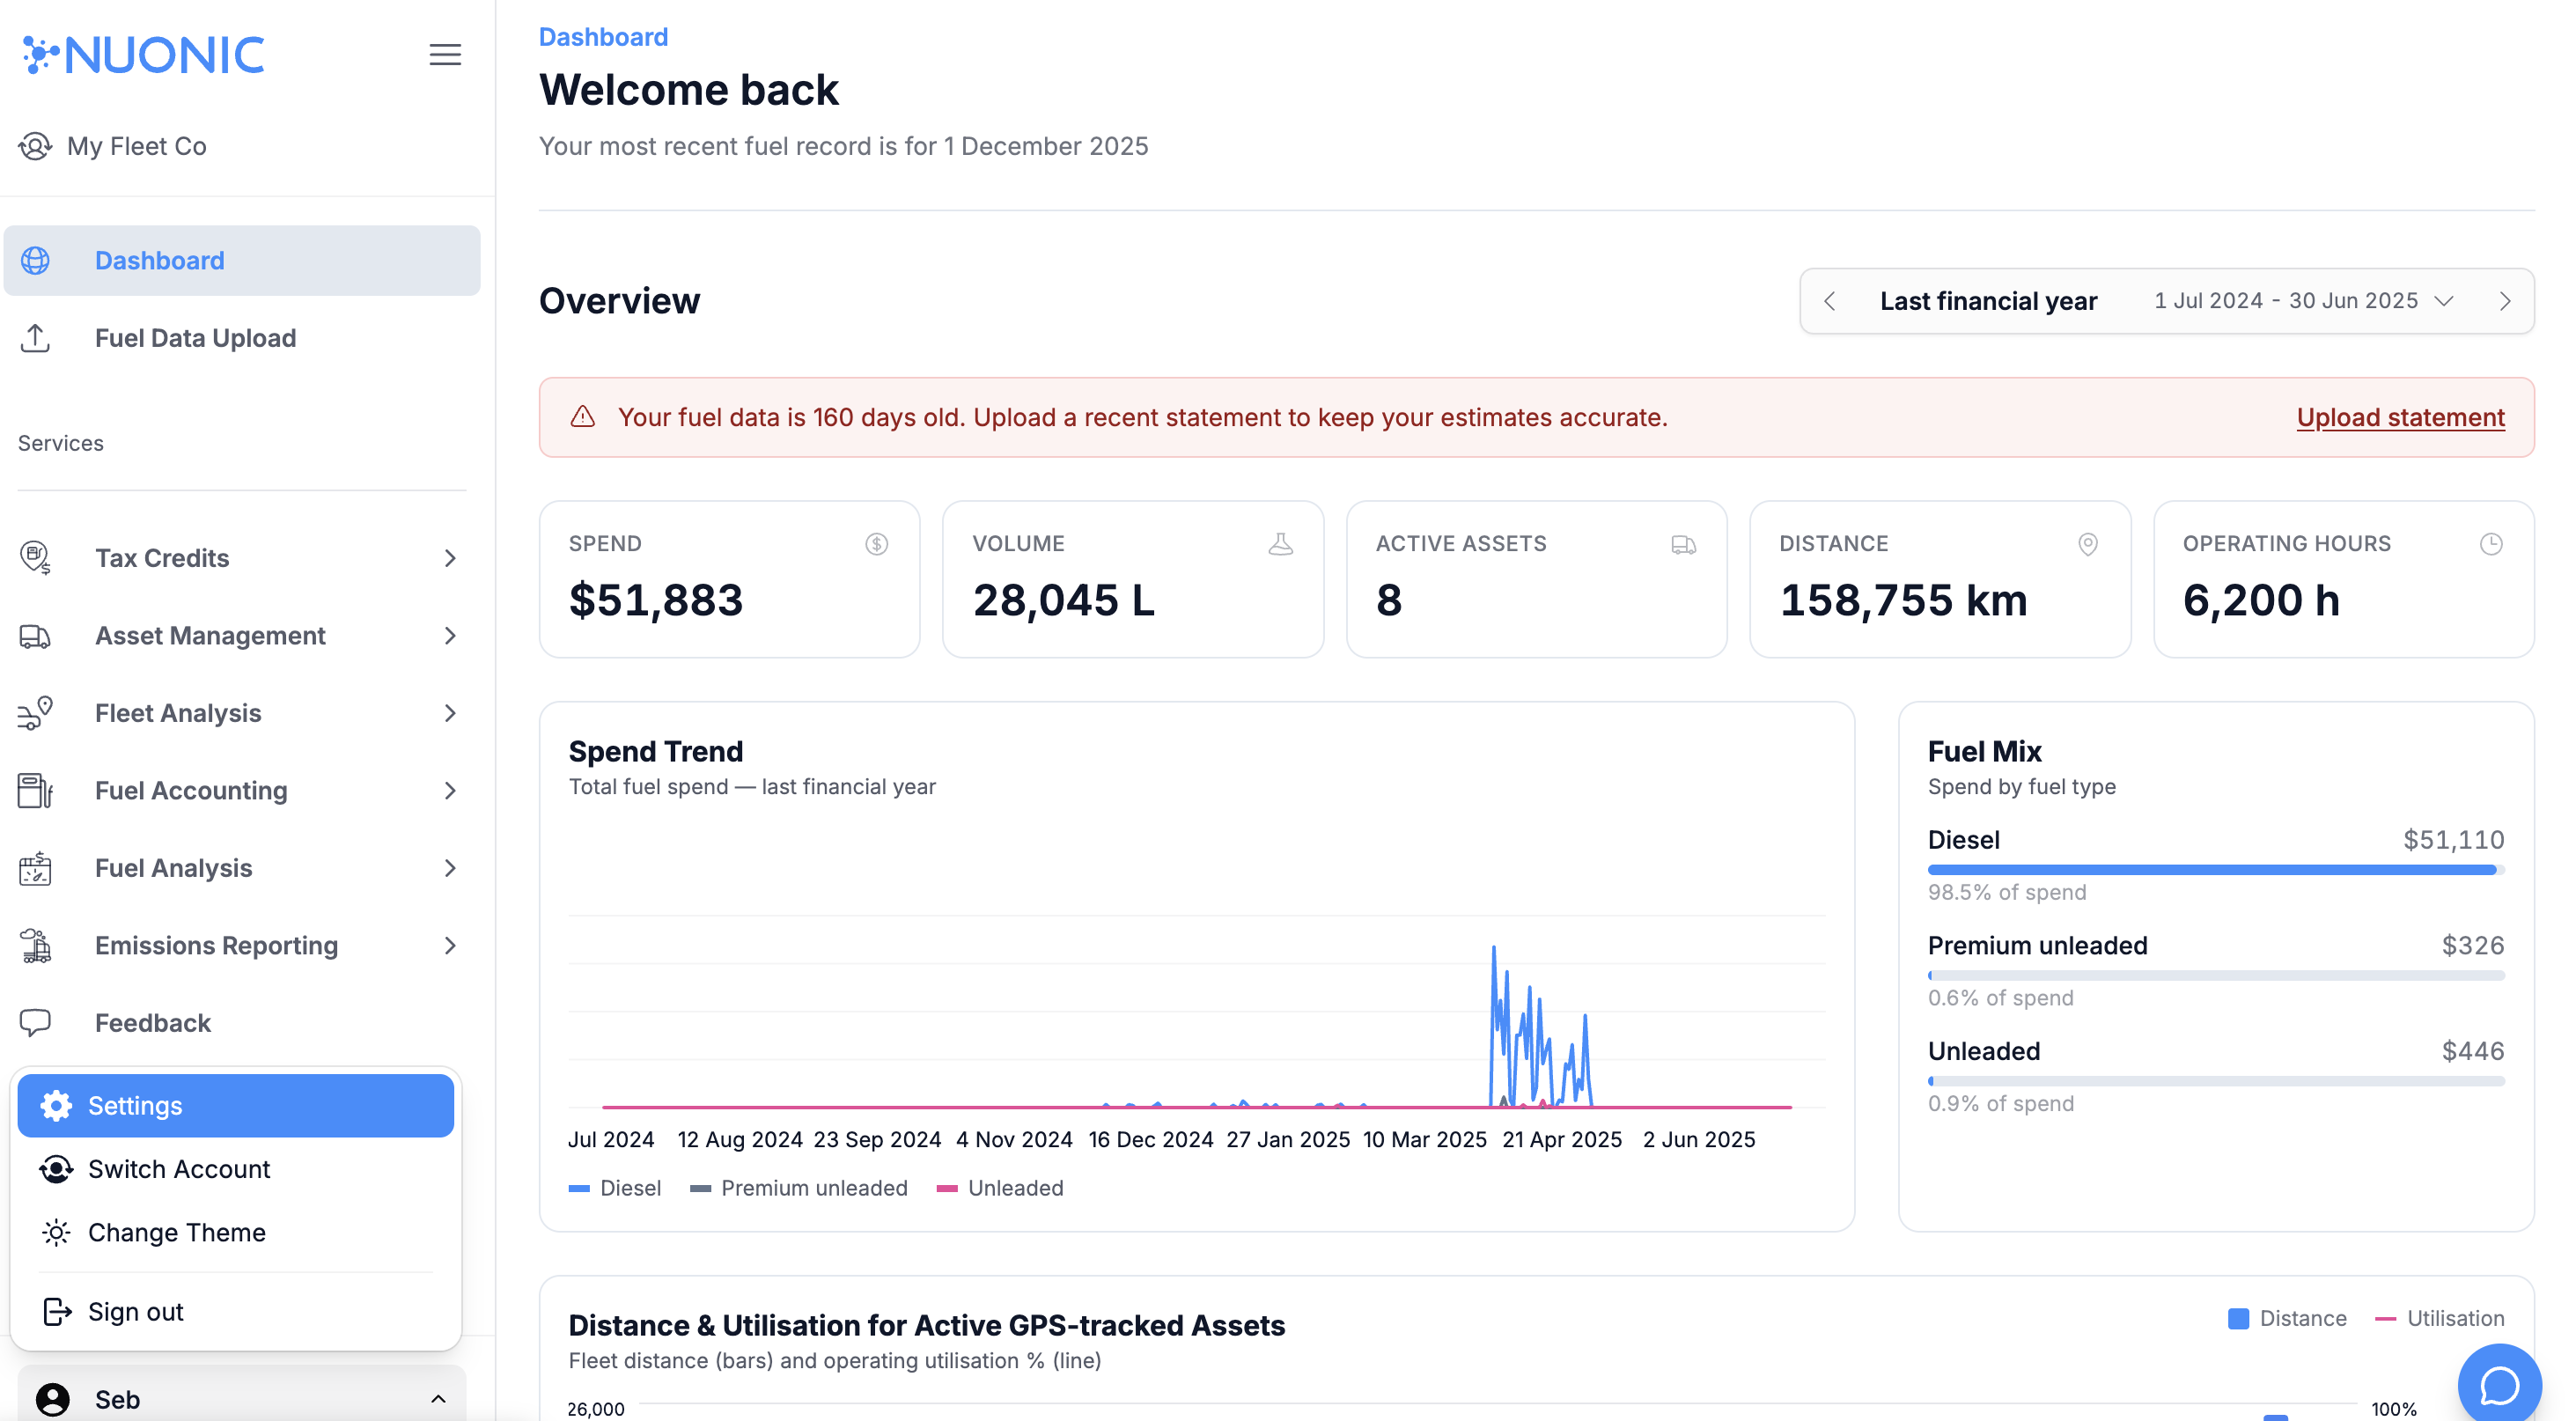
- Open
Settingsfrom the left navigation. - Select
User Management. - In
Invite User, enter the user's email address. - Enter a nickname if required. If left blank, the email address is used as the default identifier.
- Select the roles required for that user.
- Select
Send Invite. - Review the
Invitessection to monitor pending access. - If an invite has not been accepted, use the actions menu to
ResendorRevokethe invitation.
Access levels
Client Admin: Full administration rights for the account.Client View: View-only access to account content.Vehicle Admin: View and edit access for vehicle records only.Audit Reports: Access to view and generate audit reports.Areas Admin: Full access to areas, including view, create, edit, and delete.
Screenshots
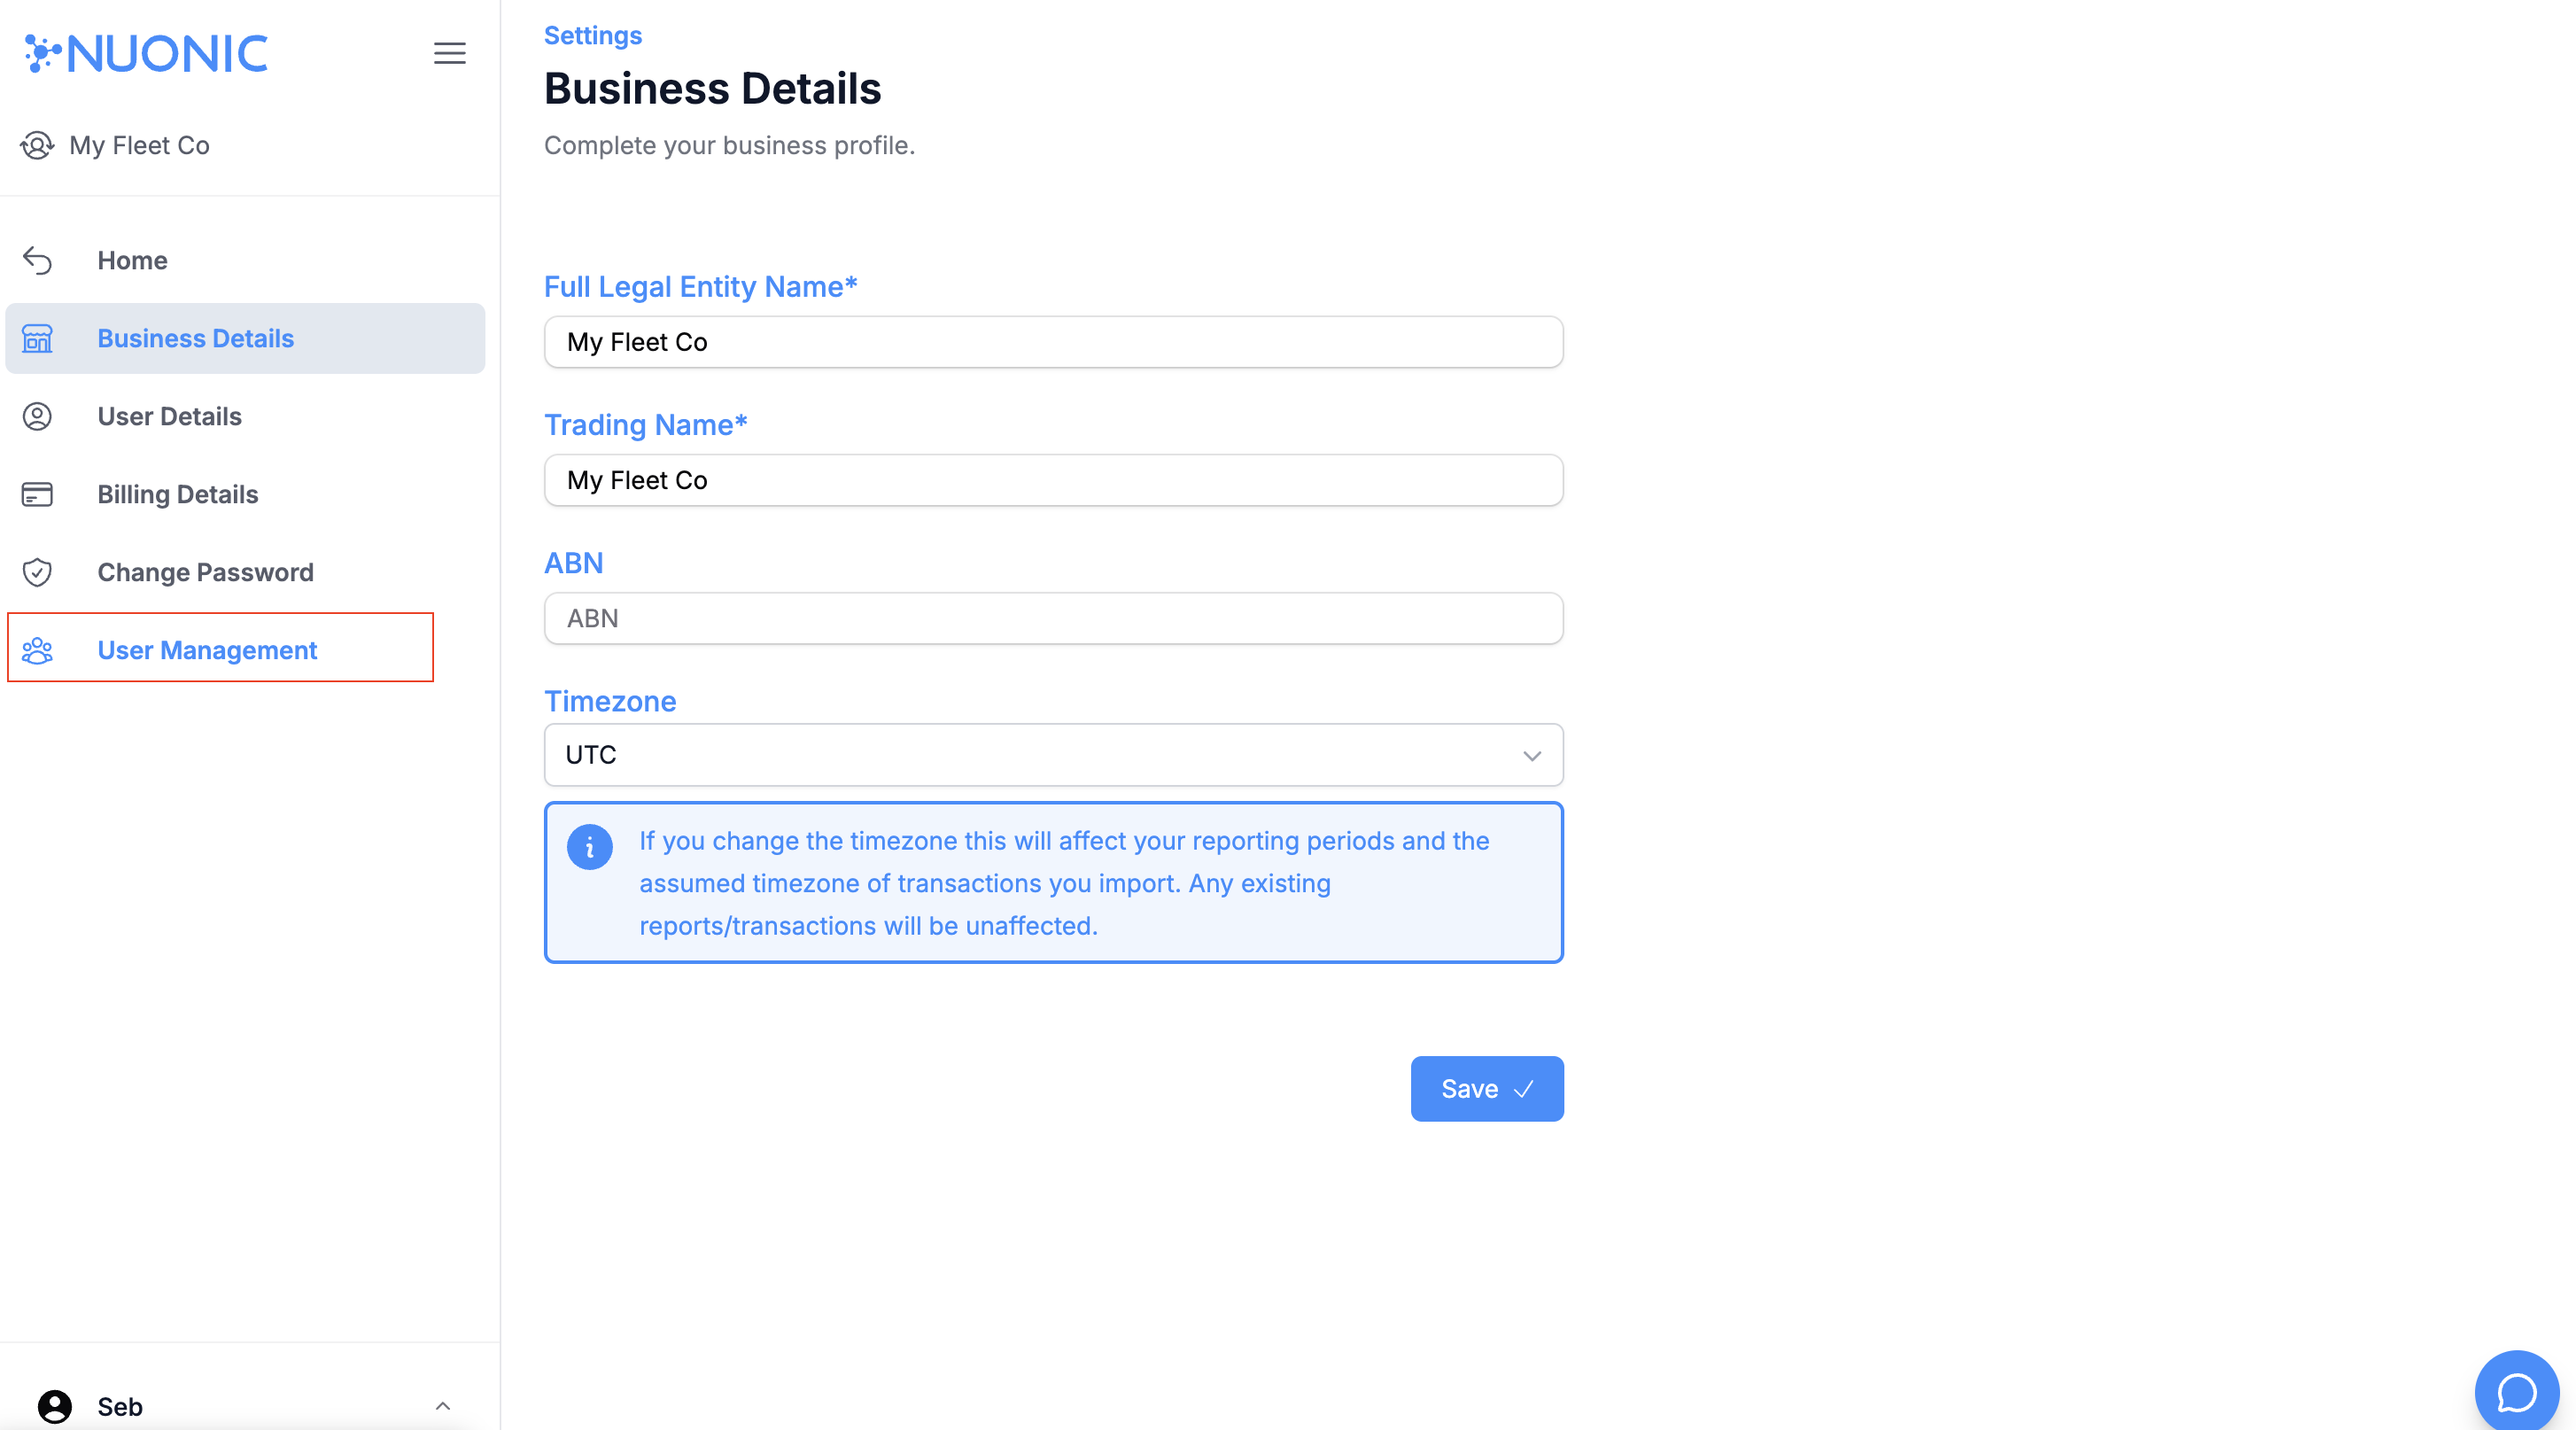
 Shows where to open
 User Management from the Settings section.
 Shows the
 User Management page used to invite and manage account users.
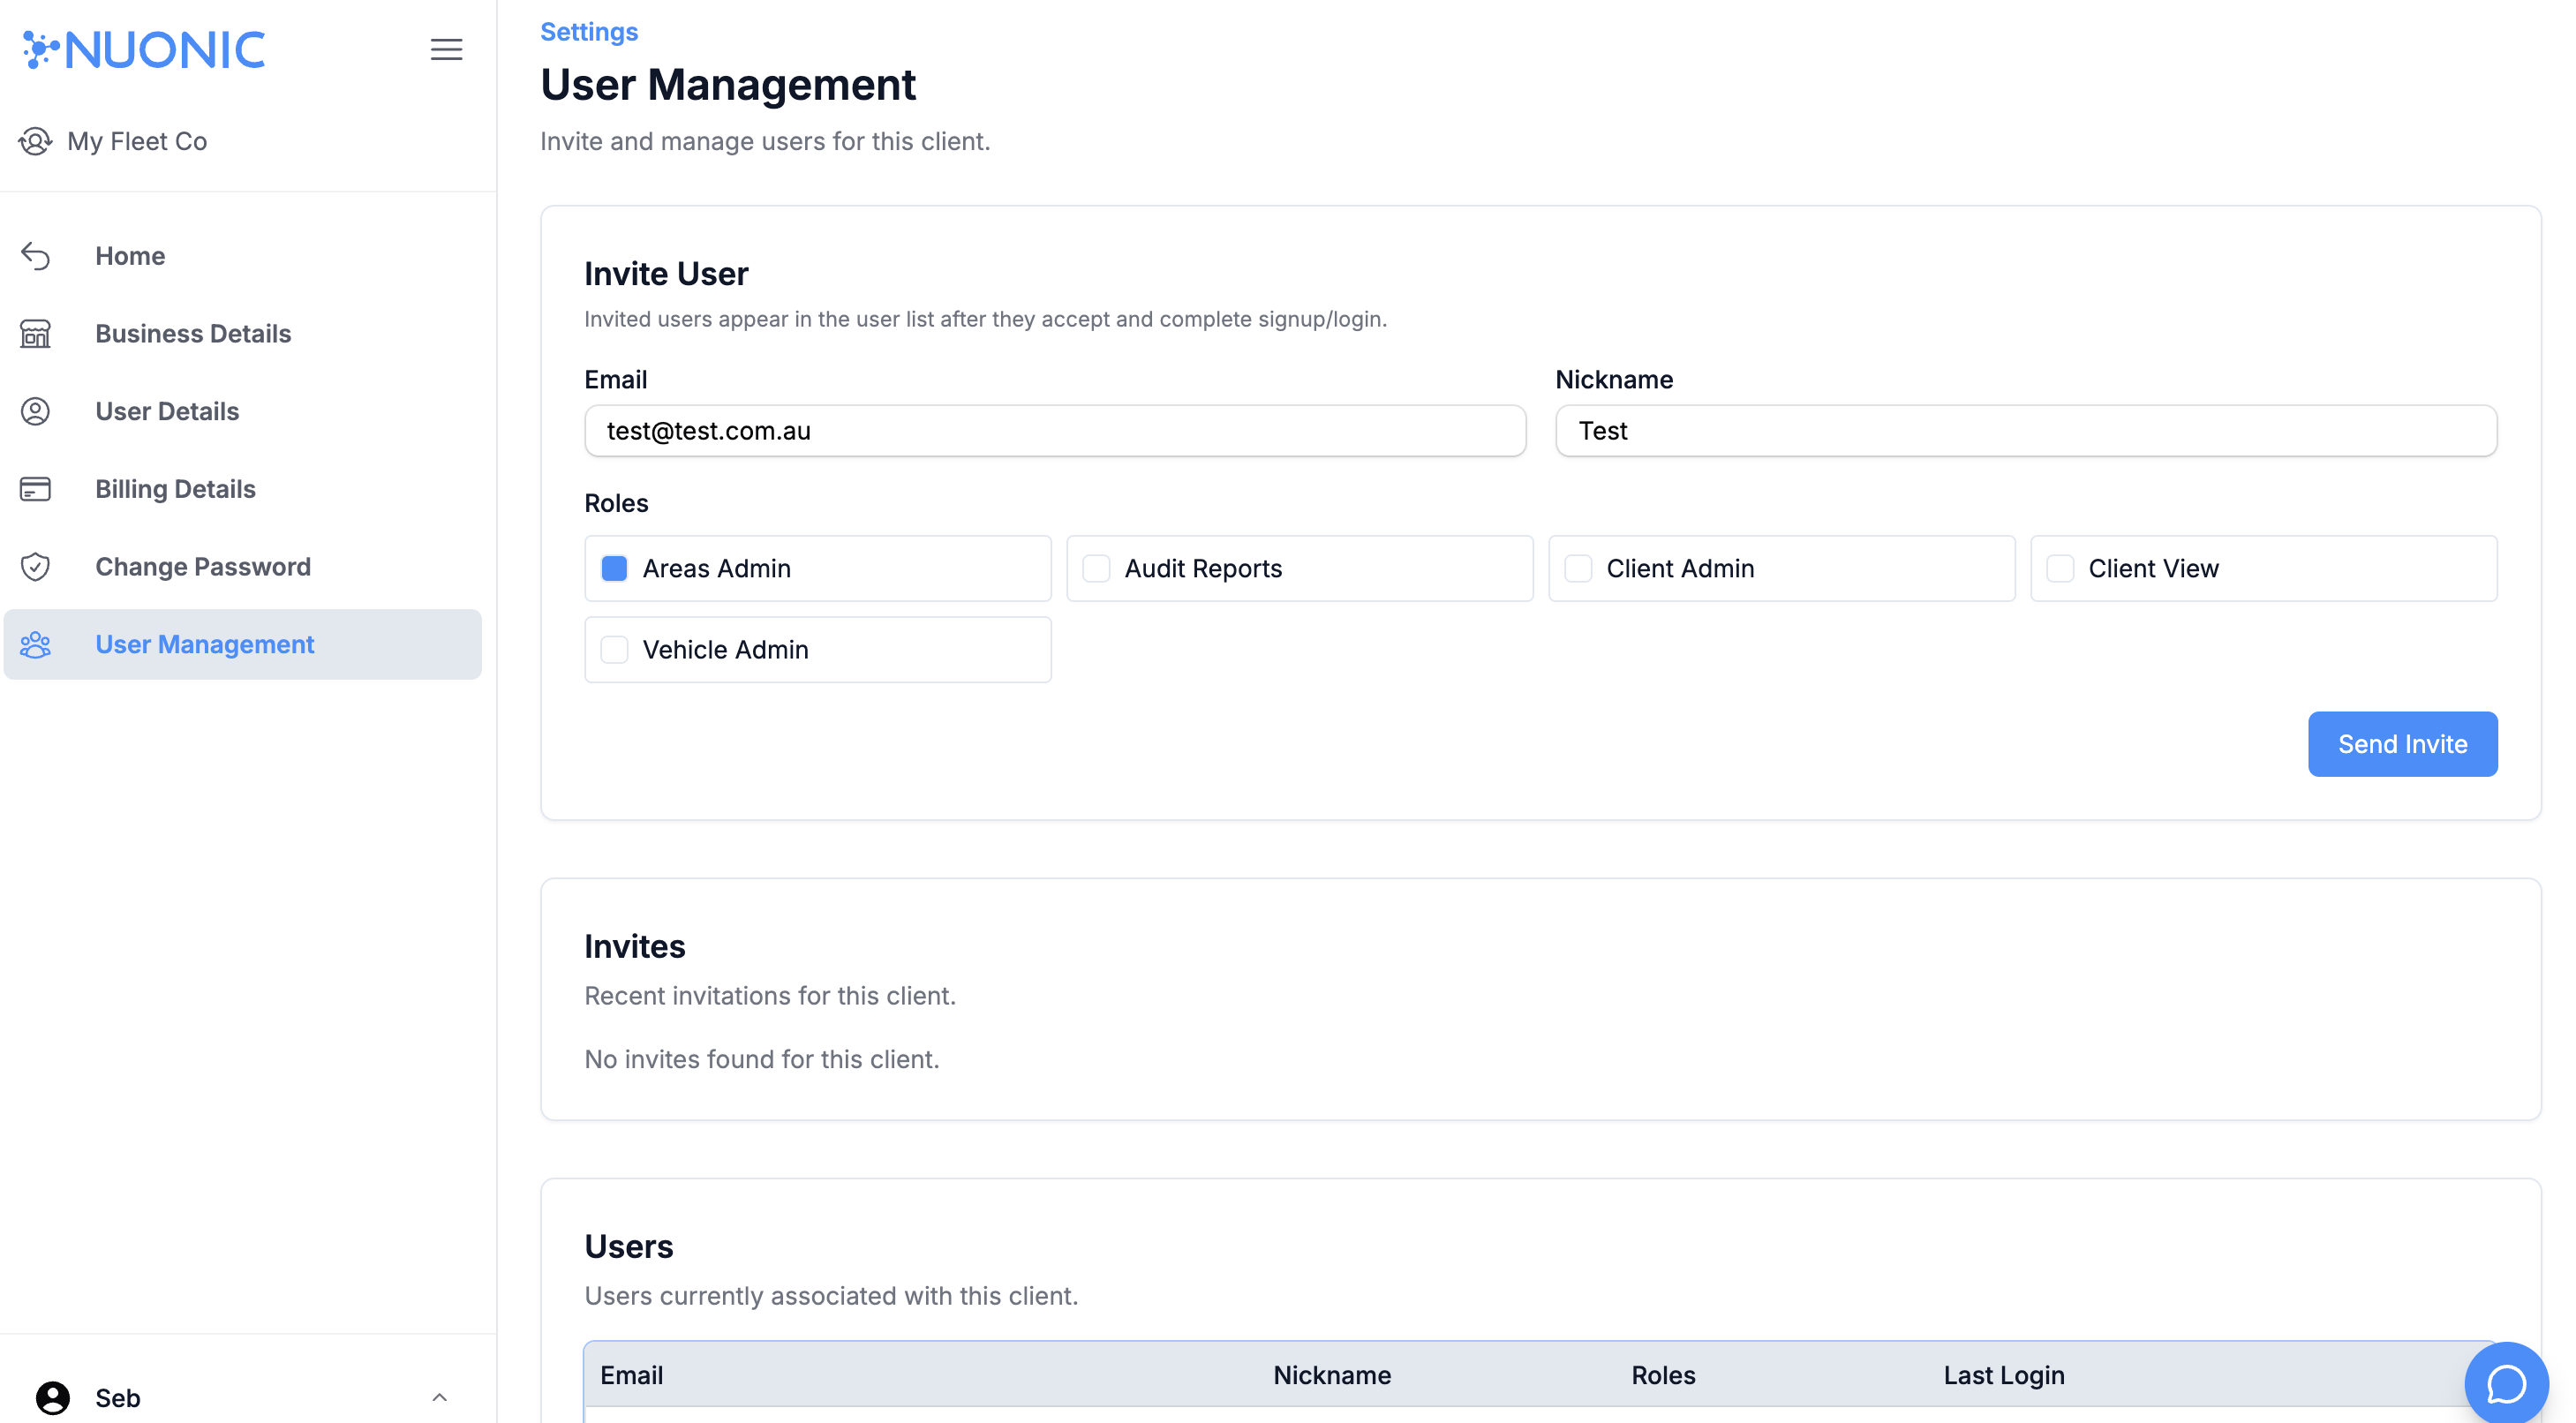 Shows the fields used to invite a user and select the required level of access.
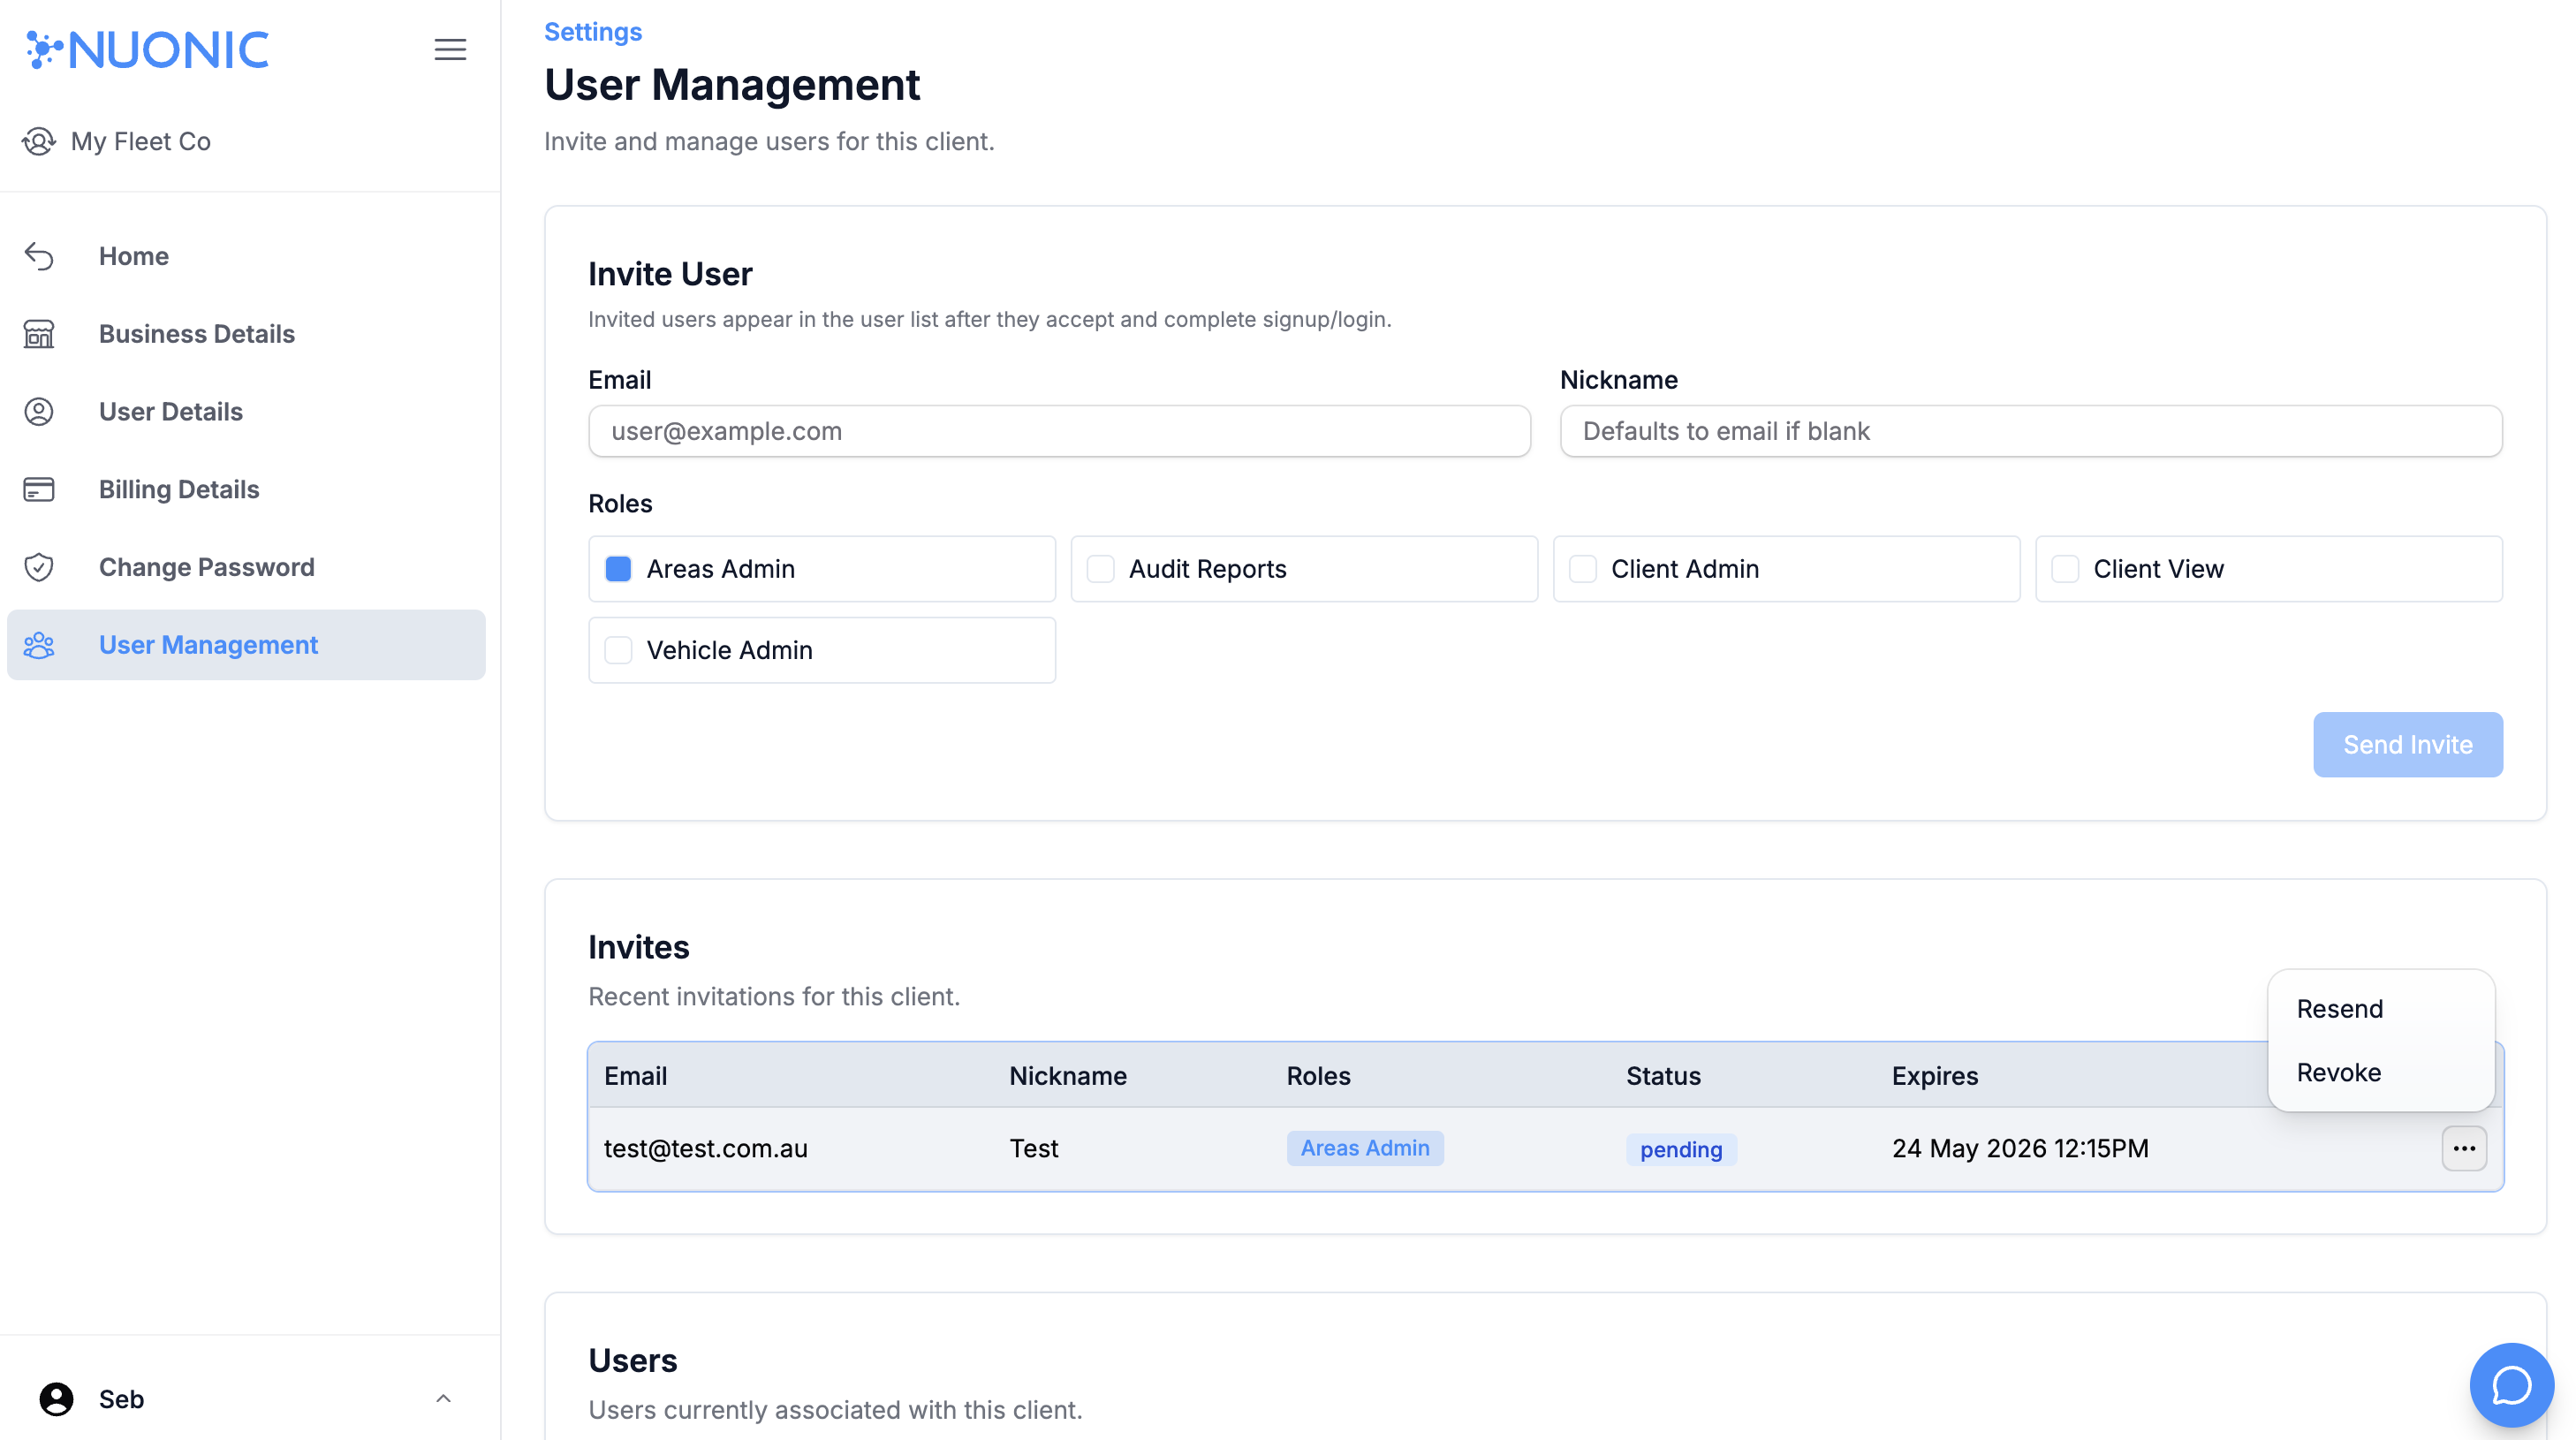 Shows how to resend or revoke a pending invitation from the
 Invites section.
Troubleshooting
- If
User Managementis not available, confirm the current user has access to manage account users. - If an invited user does not receive the email, confirm the address is correct and then use
Resendfrom theInvitessection. - If the wrong access level was selected, revoke the invite and send a new invitation with the correct role selection.